Using the Plom client
The main user-facing part of Plom is the plom-client. This is the tool that you will use to identify, annotate and mark papers. It helps you do 2 main tasks
- Marking, and
- Identifying.
Getting and running the client
The client runs on Linux, OSX and Windows and you can find installation instructions here. Once you have installed it, fire it up to be presented with the following window. 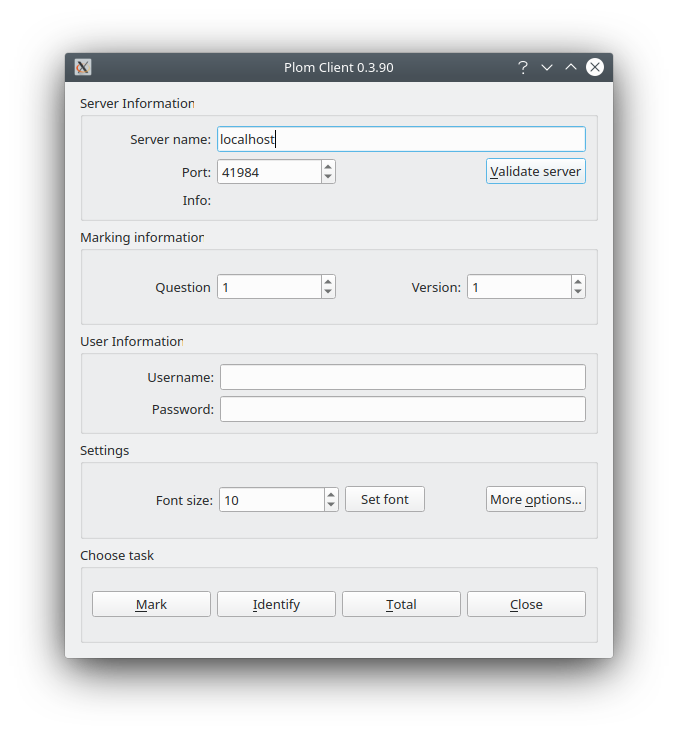
To get started you will need
- the name (or IP) and port of the server, and
- a username and password.
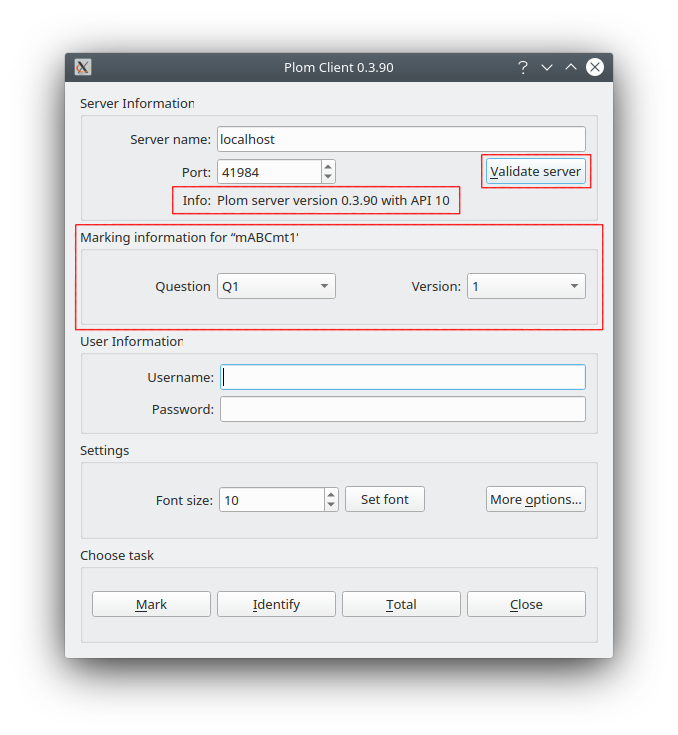
For illustrative purposes, we’ll assume that you are running the demo-server. That runs on localhost and uses the default port 41984. Once you have entered the server and port, click validate server. This sends a ping to the server and verifies that the client/server versions are compatible. It also grabs basic information about the test including its name and the number of questions and versions.
Now you can enter the username and password and select one of the three possible tasks: Mark, Identify or Total.
Marking
This is the process of annotating papers, leaving useful feedback and assigning marks (grades). It is by far the most important part of giving a test, and will consume the vast majority of your time. You will, most likely, be assigned to a specific version of a specific question.
Identifying
This is the process of determining which paper belongs to which student. See the Plom documentation.
Configuration options
There are actually very few configurable options for the plom-client:
- The most important option is the size of the font. This can be adjusted using the
font-sizespin-box andset fontbutton. - Clicking
more optionsbrings up another dialog:Logging level- this controls how much information the client prints as it runs. In most cases this can be ignored by the user.Log to file- if you do wish to log information (especially for debugging) the please do set this option. Otherwise it is safely ignored.Force foreground upload/download- by default the client tries to reduce apparent network lag for the user. It does this by running uploads and downloads of tasks in the background while you are at work on the current task. When debugging or working on a very bad connection, it can be useful to force the client to do all communication in the foreground. This will increase apparent lag-time between tasks.- There are other configurable options, however these are not available to standard users (sorry).